Patchouli Optional for Primitive Ages primitiveages-1.0.2+neoforge-26.1.jar
optionalMatching file found Matched file: patchouli-neoforge-26.1-94.jar
CurseForge · Minecraft mod
Expanded early-game progression while keeping a familiar vanilla feel. Craft flint tools, use campfires, fire clay vessels, and smelt copper to reach the iron age!
Quick answer
Primitive Ages primitiveages-1.0.2+neoforge-26.1.jar targets 26.1, 26.1.1, 26.1.2 with NeoForge. The project page does not say whether this file belongs on the client, dedicated server, or both. No extra mods listed for this file.
Where it goes
The project page does not say whether this file belongs on the client, dedicated server, or both.
The source does not explicitly classify this release as client-only or server-only.
primitiveages-1.0.2+neoforge-26.1.jar. Change the file and its required mods may change too.
This file does not list any required mods. Do not add a library just because a different file uses it.
We only count dependency files that match this setup. A file for another loader does not fill the gap.
Before you install it
Built for Primitive Ages primitiveages-1.0.2+neoforge-26.1.jar. Pick another file and the loader, install side or required mods may change.
Use primitiveages-1.0.2+neoforge-26.1.jar. It targets 26.1, 26.1.1, 26.1.2 with NeoForge; another release may have different loader, side or dependency requirements.
This file does not list any required mods. Do not add a library just because a different file uses it.
The project page does not say whether this file belongs on the client, dedicated server, or both.
Use the “Get this file” button beside primitiveages-1.0.2+neoforge-26.1.jar. It opens that exact file at the source.
About this project
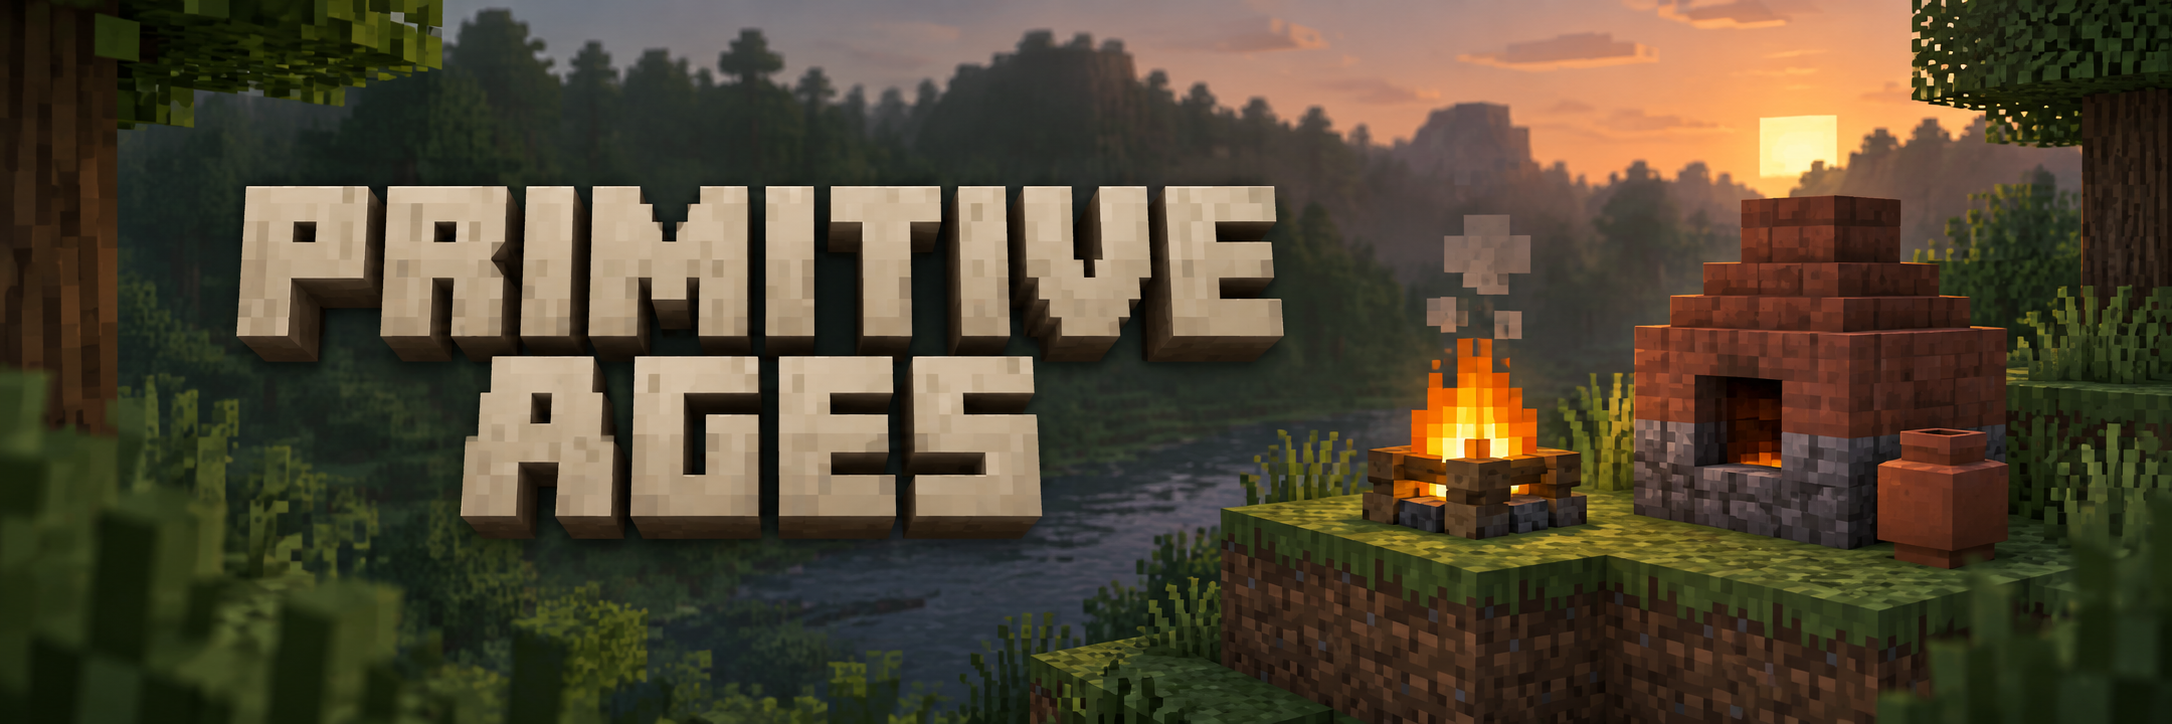
Primitive Ages expands Minecraft’s early survival progression with practical crafts, earthy building materials, and new ways to establish a home.
Gather plant fiber, bind flint into tools, fire your first pottery, and turn raw hides into usable leather. Build a kiln to begin working copper, lay irrigation channels through your fields, and raise a thatch-roofed settlement before moving on to iron.
Each step gives familiar materials a new purpose while keeping Minecraft’s vanilla style and later progression.
Your first tools begin with flint, sticks, and plant fiber.
Craft a Stone Knife to harvest fiber from grass, then combine that fiber with flint to make Bound Flint. Use it in the familiar stone tool recipes to craft your first pickaxe, axe, shovel, hoe, and sword.
The mining progression follows a clear path:
Bound Flint → Stone Tools → Copper → Iron → Diamond → Netherite
Stone tools keep their familiar vanilla appearance, stats, and repair materials. Once you reach iron, the usual path toward diamond and netherite continues.
Campfires can be crafted before you have coal, using logs, flint, and cobblestone.
Both regular and soul campfires are placed unlit. Use a crafted Fire Starter to light them, consuming the starter in the process. A fire burns for **one Minecraft day—20 minutes at normal game speed—**before it needs to be lit again.
Your first campfire becomes a working space for cooking food, firing mud bricks, and making pottery. Keep a spare Fire Starter nearby.
Combine clay and dirt to mold Unfired Mud Bricks, then fire them on a campfire. Each brick takes 30 seconds, and a campfire can fire four at once.
Use the finished bricks to build your first Kiln.
The kiln handles copper and basic materials such as glass, stone, bricks, and charcoal. It uses normal furnace fuels and supports hoppers, making it useful as your settlement grows.
Cooking stays at the campfire during this stage. Iron, gold, and more advanced smelting require a regular furnace, unlocked once you have copper.
Carry water before you can craft an iron bucket.
Clay Vessels are made from three clay balls and fired on a campfire or in a kiln. Each fired vessel carries one water source and breaks after a successful pour.
Once you have leather, craft a Water Jug for a longer-lasting option. A jug carries one water source and survives 10 successful uses. Refilling it does not consume durability.
Use these containers to move water, prepare leather, fill irrigation basins, and waterlog blocks. Both are dedicated water containers.
Leather becomes a small crafting process of its own:
Raw Leather → Stripped Leather → Primed Leather → Leather
Animals that normally drop leather now drop Raw Leather. Rabbit hides can also be crafted into raw leather.
Combine raw leather with a knife in a crafting table to strip it.
Add water using a filled clay vessel, water jug, or bucket.
Place the primed hide on a Tanning Rack.
Each hide dries into normal leather in 60 seconds, with no fuel required. Racks process one hide at a time and visibly change as the leather finishes drying.
Use the finished leather for vanilla crafting, water jugs, and your first thatch bed.
Craft and fire Basins and Irrigation Channels to bring water through your fields.
Channels connect into straight runs, corners, branches, and junctions. A supplied basin or adjacent water source feeds up to eight channel blocks, and additional basins can extend the network across larger farms.
Supplied channels hydrate farmland within two blocks horizontally, including diagonals, at the channel’s height or one block below.
Pour water into a basin to create a permanent irrigation source, or connect your network to an existing water source at the same height. Water stays visible inside the channels without spreading flowing water across your farm.
Build with warm Thatch roofing and earthy Mud Bricks.
Craft a Thatch Bed from leather and thatch to set your respawn point at any time of day. It is too uncomfortable to sleep in, so the night continues after you set your spawn.
Craft a reusable Chicken Cage from iron bars and right-click a chicken to capture it.
Carry adult or baby chickens back to your settlement, place the occupied cage, and release them into a clear neighboring space. Captured chickens retain their name, age, health, variant, and egg timer.
Chickens remain paused while inside the cage, and occupied cages can be picked up with a pickaxe for another move.
Knives are available in stone, copper, iron, gold, diamond, and netherite.
Use them to gather plant fiber and prepare raw leather. Start with a simple flint blade, then upgrade your knife as you progress through the familiar tool materials.
Your first milestones are:
Gather flint and sticks. Four gravel can also be crafted into one flint.
Craft a Stone Knife. Place one flint above one stick.
Harvest grass for Plant Fiber.
Make Bound Flint. Surround one flint with fiber above, below, and on both sides.
Craft stone tools using Bound Flint in their usual recipes.
Build and light a campfire. Mold clay and dirt into mud bricks, then fire them.
Build a kiln and smelt copper.
Craft a copper pickaxe and a furnace to begin working toward iron.
Along the way, pottery, leatherworking, thatch construction, and irrigation give you more reasons to develop your first home.
Does Primitive Ages replace the entire progression system?
It focuses on the early game. Stone, copper, and iron become more distinct milestones, while the familiar later progression continues.
Can I still cook food in a furnace?
Yes. Regular furnaces still cook food. Kilns handle non-food materials, so campfires cover your earliest cooking needs.
Does the Thatch Bed skip the night?
No. It sets your respawn point without starting sleep.
Can I light campfires with flint and steel?
No. Campfires require the mod’s Fire Starter. Fire charges and burning projectiles cannot light them either.
Do irrigation basins run out of water?
A basin you fill manually remains a permanent irrigation source. Basins supplied by a connected network depend on that network remaining supplied.
Where do I find the recipes?
Recipes unlock in the vanilla recipe book as you collect the relevant materials. The Primitive Ages creative tab also groups the mod’s items and key progression materials.
Project description from CurseForge.
Pick your setup
Choose the version and loader you play, then open the matching release.
Check the dependencies, then try the file in a copied instance before changing a world you care about.
Recent files
12 Sept 2026
primitiveages-1.0.2.jar
11 Sept 2026
primitiveages-1.0.1.jar
11 Sept 2026
primitiveages-1.0.0.jar
9 Sept 2026
Looking for an older file? The official CurseForge project page is in Resources.
 mod
modAn assortment of various things than can generate in your world.
 mod
modOpen enchanted books like written books to read their description and lore.
 mod
modLibrary mod with new configurability and compatibility enhancements for worldgen