Create Needed by Create Control Panels create_controlling-neoforge-0.2.6+1.21.1.jar
requiredMatching file found Matched file: Create 6.0.10 for mc1.21.1
CurseForge · Minecraft mod
Addon for Create Mod that adds Control Engineering style control panels that have buttons, levers, gauges and much more added to them.
Quick answer
Create Control Panels create_controlling-neoforge-0.2.6+1.21.1.jar targets 1.21.1 with NeoForge. The project page does not say whether this file belongs on the client, dedicated server, or both. All 1 required mods have matching files.
Where it goes
The project page does not say whether this file belongs on the client, dedicated server, or both.
The source does not explicitly classify this release as client-only or server-only.
create_controlling-neoforge-0.2.6+1.21.1.jar on NeoForge. Every mod below is checked against that same setup.
Install Create first. We found matching files for this game-version and loader setup.
We only count dependency files that match this setup. A file for another loader does not fill the gap.
Before you install it
Built for Create Control Panels create_controlling-neoforge-0.2.6+1.21.1.jar on NeoForge. Pick another file and the loader, install side or required mods may change.
Use create_controlling-neoforge-0.2.6+1.21.1.jar. It targets 1.21.1 with NeoForge; another release may have different loader, side or dependency requirements.
Install Create first. We found matching files for this game-version and loader setup.
The project page does not say whether this file belongs on the client, dedicated server, or both.
Use the “Get this file” button beside create_controlling-neoforge-0.2.6+1.21.1.jar. It opens that exact file at the source.
About this project
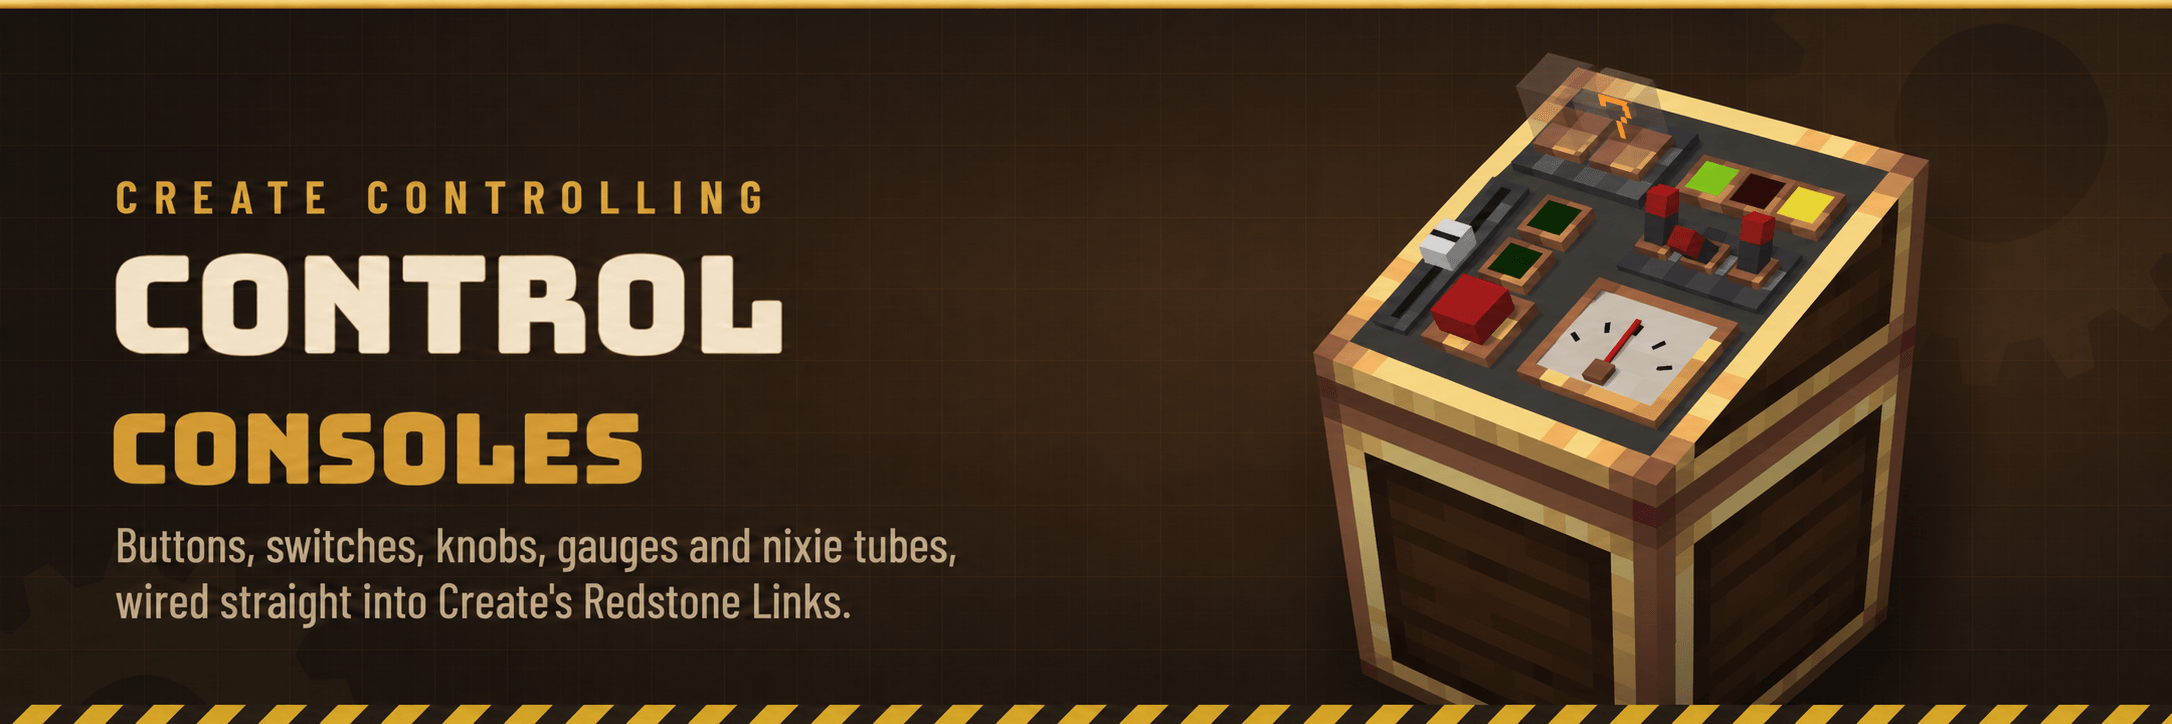
Your contraptions deserve a control room. Create Controlling adds a sloped Control Panel you can cover in chunky 3D buttons, switches, knobs, sliders, lamps, gauges, glowing nixie tubes and display boards. Every part talks over Create's own Redstone Link frequencies, so a console can start a train yard, throttle a mill, open a gate across the base, or tell you how full the tanks are, all without running a single line of redstone dust.
Requires Create 6.0.8 or newer · Minecraft 1.20.1 (Forge) and 1.21.1 (NeoForge)


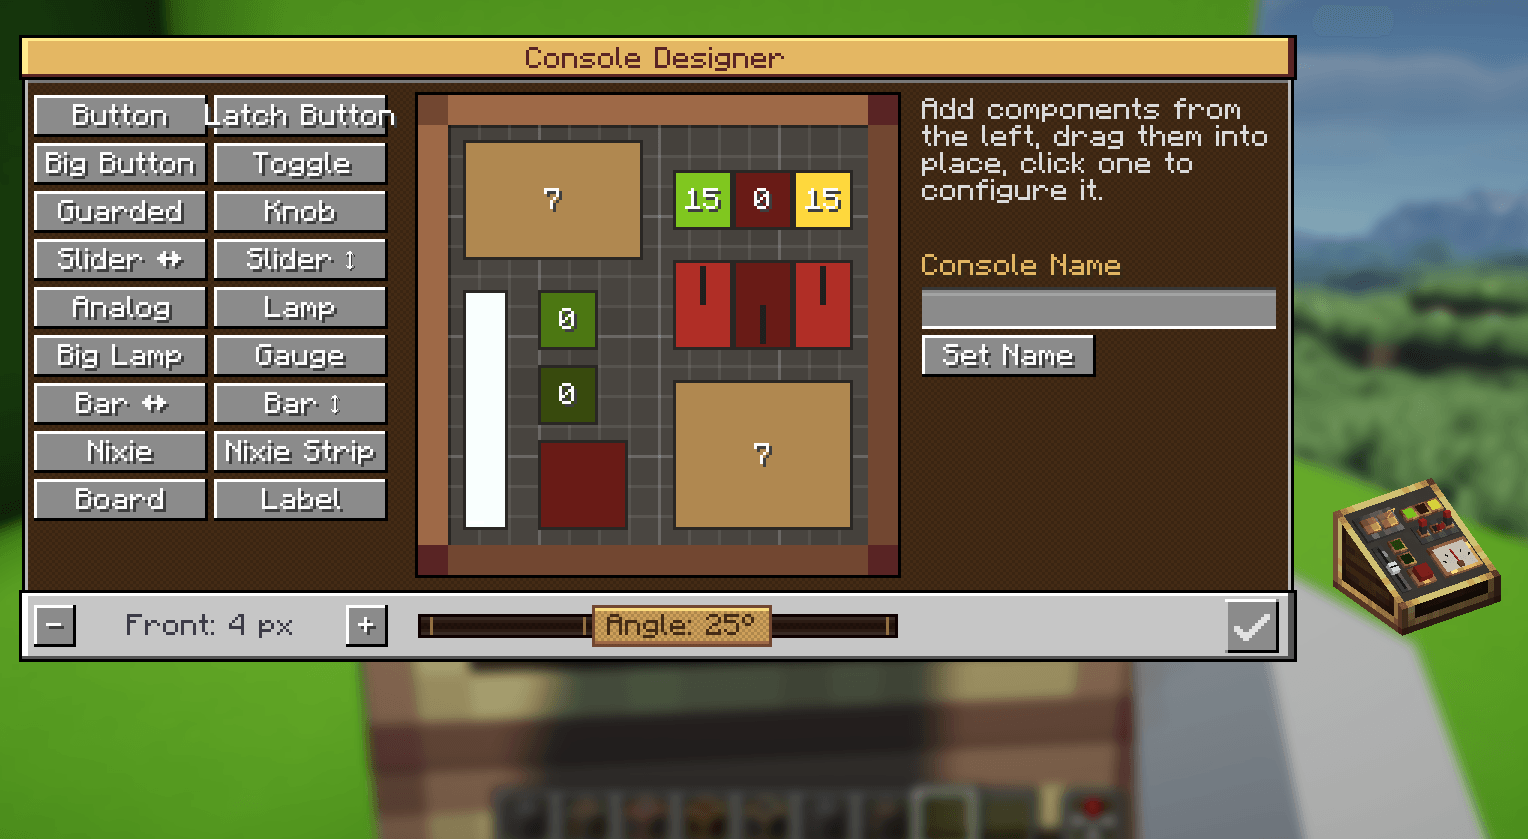
Sliders come in horizontal and vertical versions. Out parts send a signal on their frequency; in parts listen to one and show how strong it is. A knob or slider at 9 sends strength 9, and a nixie readout listening on that frequency shows 9. Nixie strips and display boards show text from a Display Link instead, so they don't use a frequency.
A few details worth knowing:

Showing live text. Mount a nixie strip or display board, and pick its line in the designer. Right-click the console with a Display Link, place the link on a display source, then open the link and choose that line.

Casings. Right-click a console with an Andesite, Brass, Copper or Train Casing, or a Block of Industrial Iron or Weathered Iron, to re-dress its body. The metal trim of the parts on it changes to match, and so do the colours of its designer. Consoles of the same shape, angle and casing placed side by side join into one continuous desk.
Blueprints. Breaking a console keeps its design, so you can pick it up and move it. To build the same layout again, craft a Console Blueprint (two paper, lapis lazuli and a brass sheet). Use it on a console to copy the design, then on another console to paste it. Pasting only charges you for parts the new console doesn't already have, and refunds the rest.
Clipboard. Use a Create Clipboard on a component to copy its frequency, then punch another component with it to paste. It works to and from Create's own Redstone Links too.
Picking up. Sneak-use a wrench on a console to pick it up into your inventory, design included.

| Minecraft 1.20.1 | Minecraft 1.21.1 | |
|---|---|---|
| Mod loader | Forge 47.4+ | NeoForge 21.1+ |
| Create | 6.0.8 or newer | 6.0.8 or newer |
| Install on | client and server | client and server |
Computers (CC: Tweaked). With CC: Tweaked installed, a console next to a computer, or connected to one by a wired modem, is a control_console peripheral. Find it with peripheral.find("control_console").
The computer sees every component that sends or receives a signal, numbered from 1 in the order they were mounted. Labels, Nixie Strips and Display Boards are skipped.
Frequencies are optional. A component with a frequency travels over Create's Redstone Link network as usual, so a signal a computer sets reaches every Redstone Link on that frequency. A component without one belongs to the computer alone: it can still be read and set, and nothing reaches the network.
Joined consoles. Consoles placed side by side join into one desk, and a computer touching any of them reaches all of them. Every call takes an optional last console argument that picks one:
x, y, z: the console at that position. Any entry from getConsoles() works as it is.| Call | What it does |
|---|---|
getConsoles() |
Returns the touched console and every console joined to it, the touched one first, each with name (left out if unnamed), x / y / z, attached (true for the touched one) and components (how many). |
getComponents([console]) |
Returns a list of tables, one per component, with index, type (such as button, toggle_switch or lamp), direction ("transmit" for controls, "receive" for lamps and meters), linked (whether it has a frequency), value (0–15), min and max (knobs, sliders and analog levers only), frequency (the first and second item ids; a blank slot is left out) and x / y, its position on the face in pixels. |
getValue(index[, console]) |
Returns the strength (0–15) a control is sending, or a lamp or meter is showing. |
setValue(index, value[, console]) |
On a control, operates it so that it sends value. Switches and latching buttons take anything above 0 as on, a guarded switch lifts its guard and switches on (0 switches it off and closes the guard), a knob, slider or analog lever moves to value or as near as its Min and Max allow, and a button gives one pulse. On a lamp or meter with a frequency, the console sends value on that frequency. On one without, the part just shows value. Either lasts until you set it to 0, or until the last computer on the joined consoles shuts down or is disconnected. |
setFrequency(index, first, second[, console]) |
Links a component to the frequency of two item ids, for example "minecraft:redstone", as the designer does. Nothing is used up. Pass nil for a blank slot; two nils unlink it. |
Event: whenever a component's signal changes on any of the joined consoles, attached computers get a console_signal event carrying the peripheral's name, the component's index, the new value and the console it is on (a table with name, if it has one, and x / y / z):
local _, name, index, value, console = os.pullEvent("console_signal")
Editing a console in the designer can renumber its components, so call getComponents() again after changing a design. CC: Tweaked is optional; it needs version 1.110 or newer.
Sample lua programs can be found on the github page -> lua Samples

How far does a console reach? As far as a Redstone Link does. Consoles join Create's link network, so the range and rules are Create's own.
Can I use it in creative? Yes. Components are free in creative mode, and parts placed there refund nothing when removed.
Can I tilt a wall console? Yes. A wall console starts flat and can tilt either way: with its top edge standing out (handy for consoles mounted high) or its bottom edge out, like a lectern. The wrench steps through 15°, 30° and 45° top edge out, then bottom edge out, then back to flat; in the designer, the Top out / Bottom out button picks the raised edge.
Is it in a modpack? You're welcome to include Create Controlling in any modpack.

Found a bug or have an idea? Please open an issue on the issue tracker.
Licensed under the MIT License.
Project description from CurseForge.
Pick your setup
Choose the version and loader you play, then open the matching release.
Check the dependencies, then try the file in a copied instance before changing a world you care about.
Recent files
create_controlling-neoforge-0.2.6-1.21.1.jar
19 Nov 2026
create_controlling-neoforge-0.2.5-1.21.1.jar
14 Nov 2026
create_controlling-neoforge-0.2.4-1.21.1.jar
11 Nov 2026
create_controlling-neoforge-0.2.3-1.21.1.jar
4 Nov 2026
create_controlling-neoforge-0.2.2-1.21.1.jar
3 Nov 2026
create_controlling-neoforge-0.2.1-1.21.1.jar
30 Oct 2026
create_controlling-neoforge-0.2.0-1.21.1.jar
30 Oct 2026
Looking for an older file? The official CurseForge project page is in Resources.