Minecraft version
Back to mods 
CurseForge · Minecraft mod
New-Modded VM Computers
Build functional computers, laptops, and monitors in Minecraft that run real virtual machines powered specifically by VirtualBox 6.1!
Choose a version Pick your version below, then grab the matching file.
Quick answer
Which New-Modded VM Computers release should I use?
Latest stable file new-modded-vmcomputers-1.21.1-neoforge.jar
Game version 1.21.1
Loader NeoForge
New-Modded VM Computers new-modded-vmcomputers-1.21.1-neoforge.jar targets 1.21.1 with NeoForge. The project page does not say whether this file belongs on the client, dedicated server, or both. No extra mods listed for this file.
Where it goes
Is New-Modded VM Computers required on the client, server, or both?
The project page does not say whether this file belongs on the client, dedicated server, or both.
Client Source doesn’t say
Dedicated server Source doesn’t say
Loader for this release NeoForge
Required install it here Optional supported, not mandatory Not supported do not install here Source doesn’t say do not assume
The source does not explicitly classify this release as client-only or server-only.
What else does New-Modded VM Computers new-modded-vmcomputers-1.21.1-neoforge.jar need?
new-modded-vmcomputers-1.21.1-neoforge.jar. Change the file and its required mods may change too.
This file does not list any required mods. Do not add a library just because a different file uses it.
This file does not list any required or optional mods.
Before you install it
Add New-Modded VM Computers without breaking your instance.
Built for New-Modded VM Computers new-modded-vmcomputers-1.21.1-neoforge.jar. Pick another file and the loader, install side or required mods may change.
- 01
Stick to this file
Use new-modded-vmcomputers-1.21.1-neoforge.jar. It targets 1.21.1 with NeoForge; another release may have different loader, side or dependency requirements.
- 02
Bring the mods it needs
This file does not list any required mods. Do not add a library just because a different file uses it.
- 03
Put it on the correct side
The project page does not say whether this file belongs on the client, dedicated server, or both.
- 04
Pick the file you checked
Use the “Get this file” button beside new-modded-vmcomputers-1.21.1-neoforge.jar. It opens that exact file at the source.
About this project
What does New-Modded VM Computers add?
New Modded VM Computers
All additions and modifications in this project are made by Eyad Nintendo Ali.
CurseForge Page: New Modded VM Computers
Website: The Eyad Nintendo Ali Website
Original Mod
Check out the original VM Computers mod by Delta2Force:
https://www.curseforge.com/minecraft/mc-mods/vm-computers
If you have problems with this port, please submit them to my GitHub.
<details> <summary>Donate to the original creator (Delta2Force)
<sub>Note: Only accepts Bitcoin and BitcoinCash</sub></summary> BTC: 3GubEkHV69gCkjWhRgRWYqWqyjcWW3gxFF
BCH: bitcoincash:qq6jttzlvgj68lvecnh75pt3znezj4vx6sysfvj3j5 </details>
Dependencies
- Minecraft 1.21.1 with NeoForge
- VirtualBox 6.1
New Computers, Screens, and Features
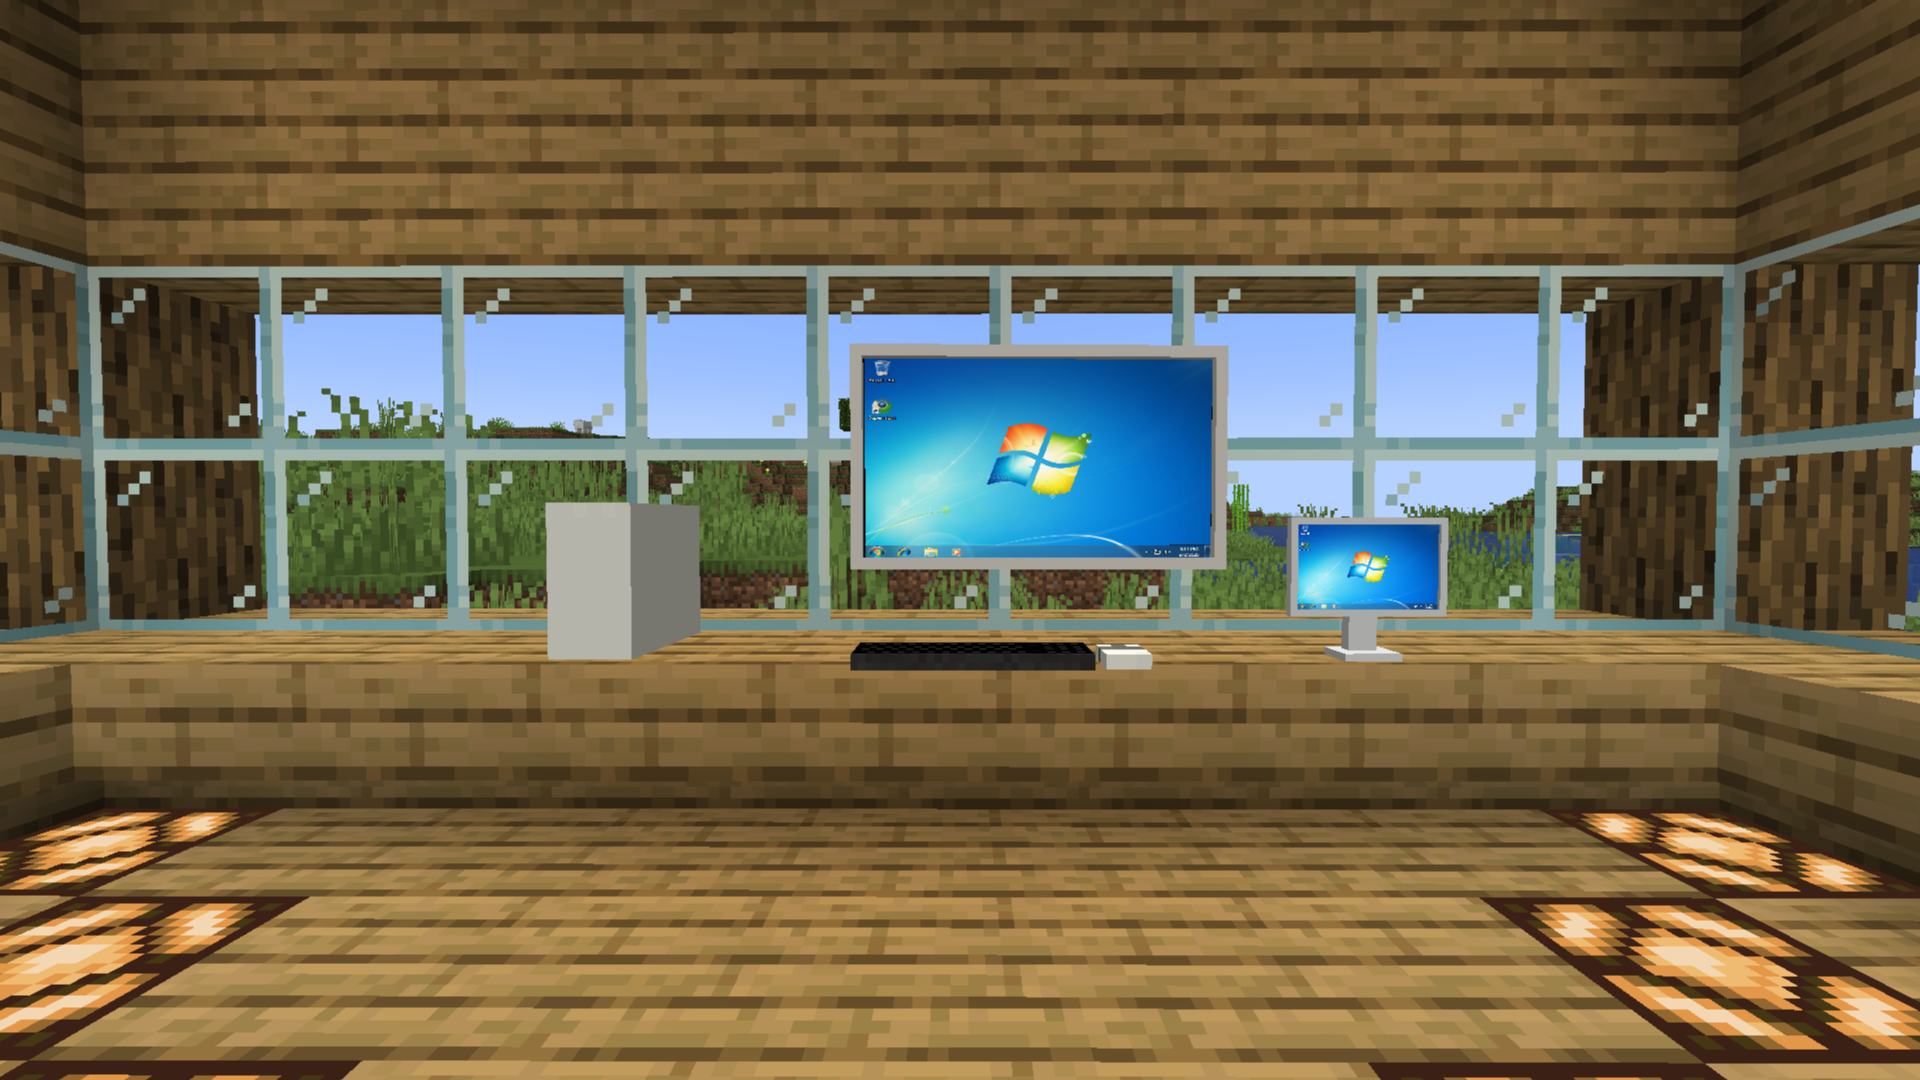
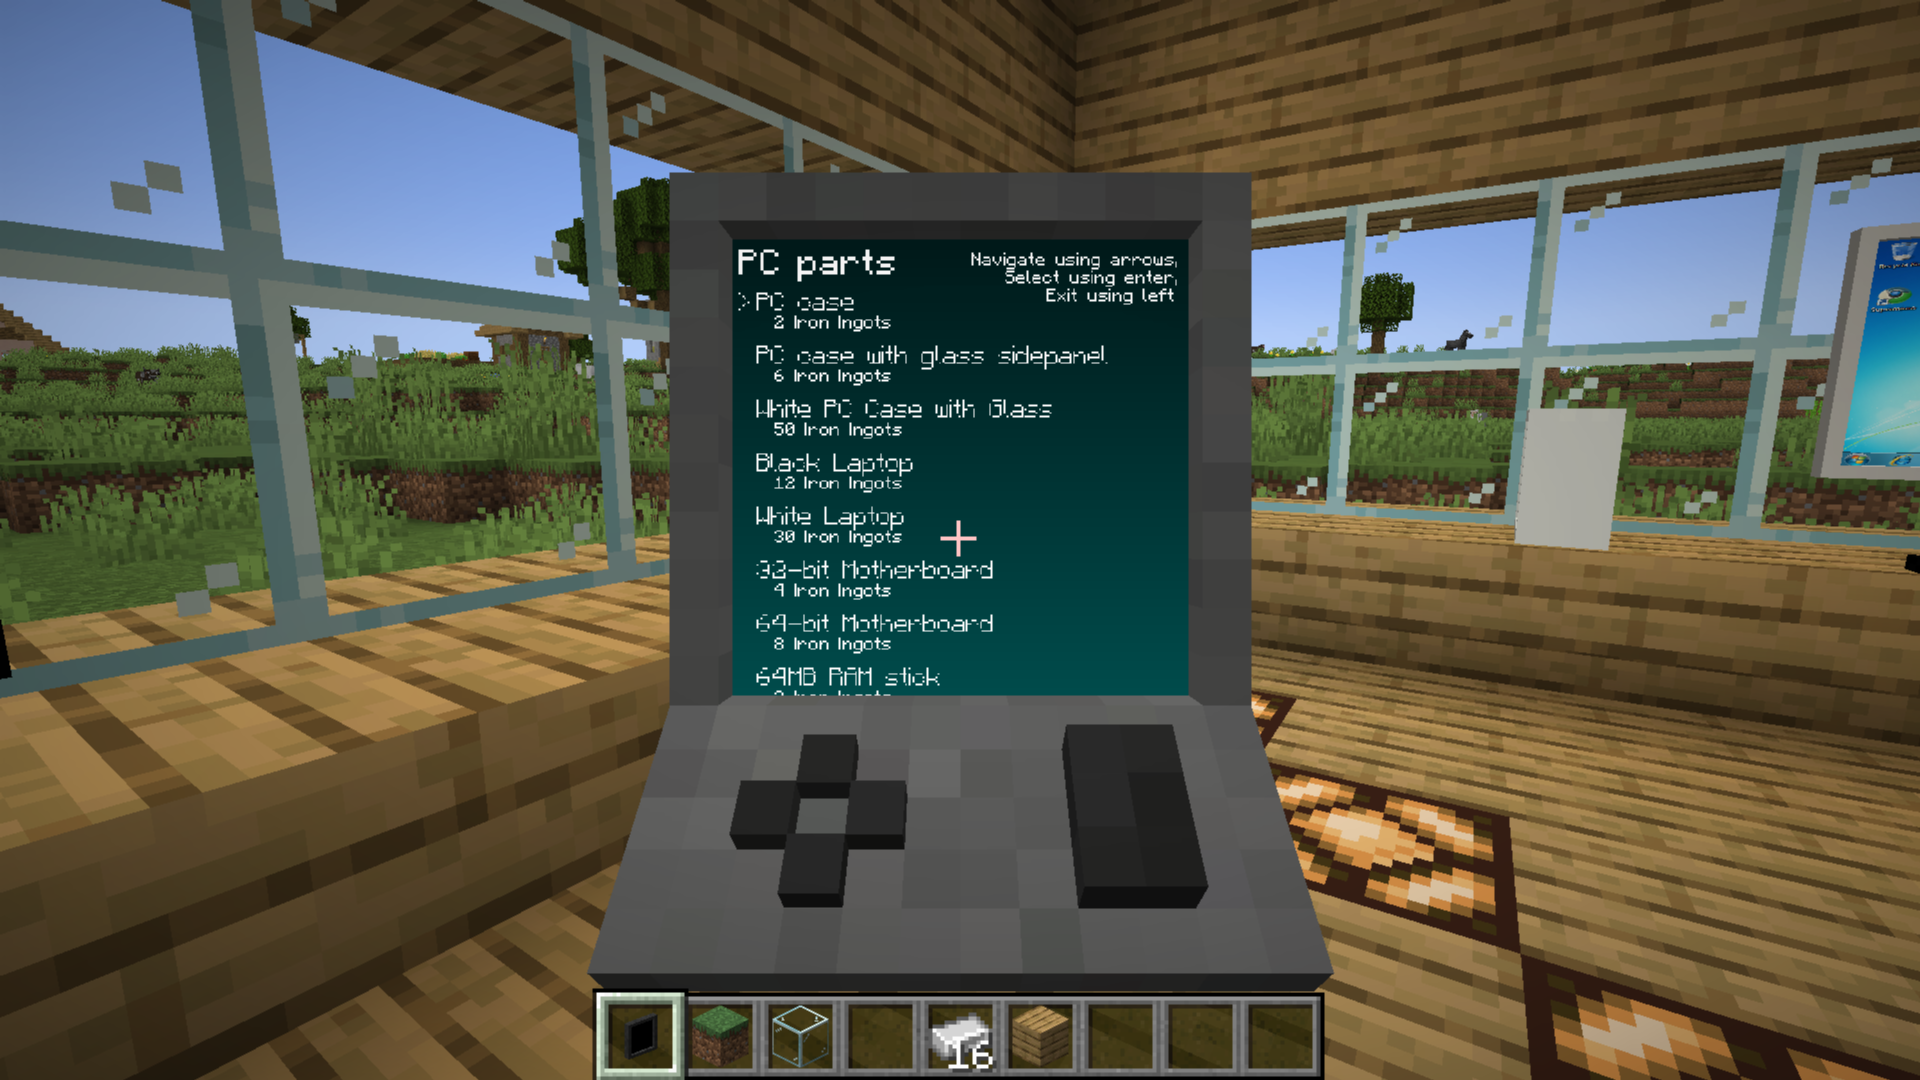
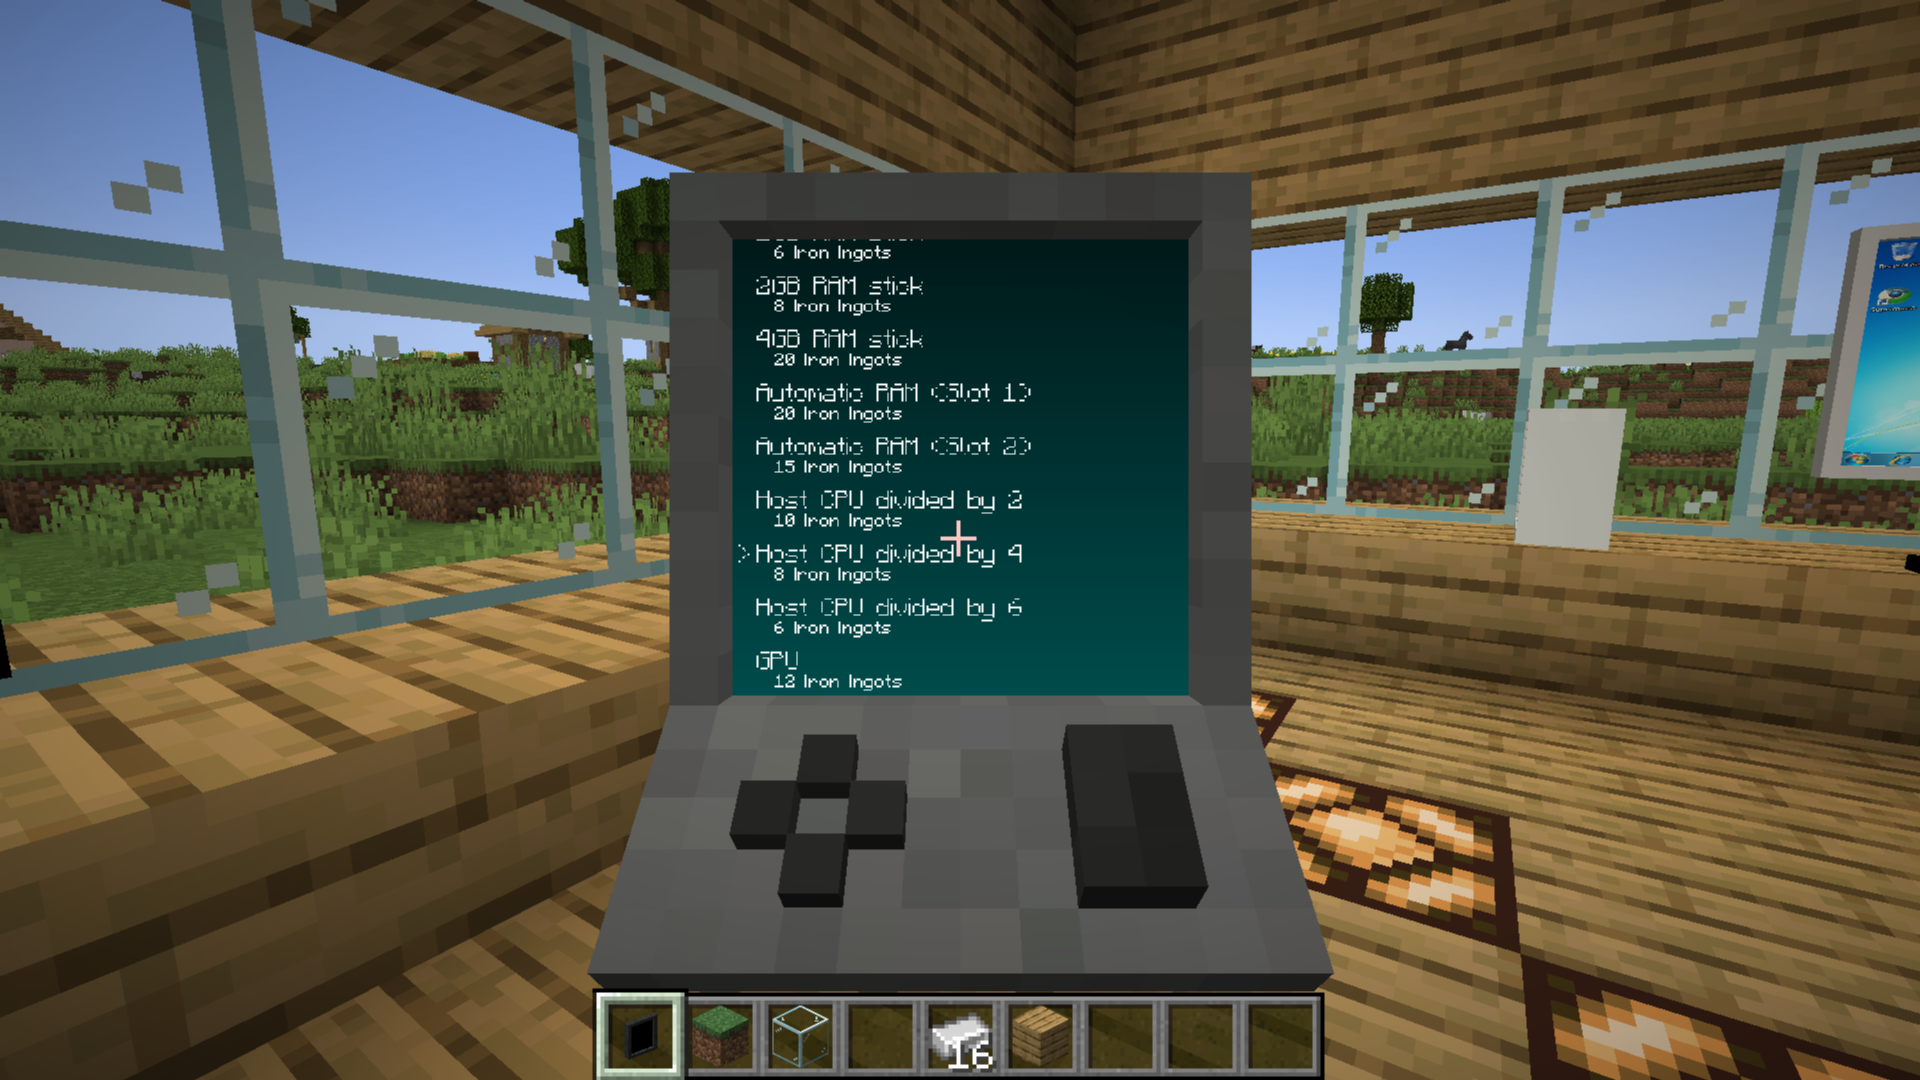
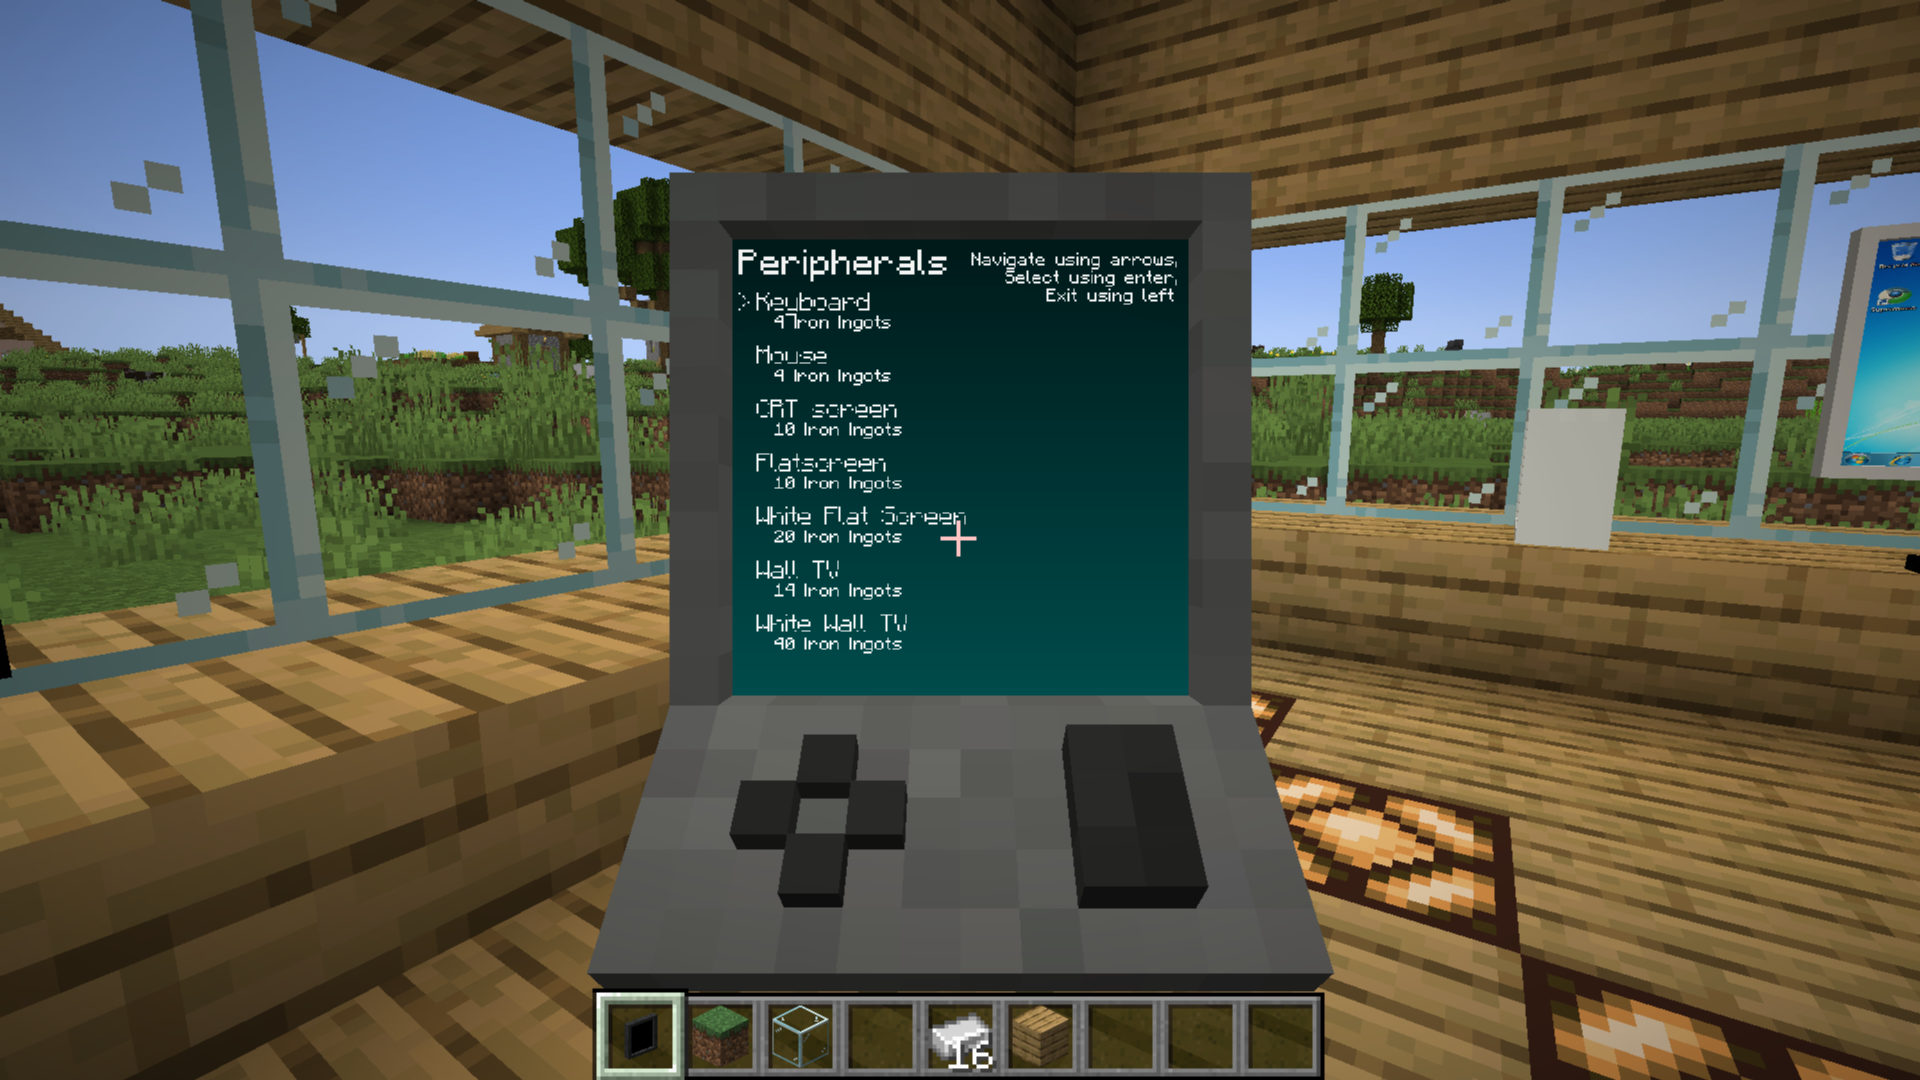
This version includes new black and white laptops, new computer and screen designs, Automatic RAM items, a hidden computer menu for troubleshooting and additional operating systems, and the Ordering Tablet shop.
Laptops and new screens
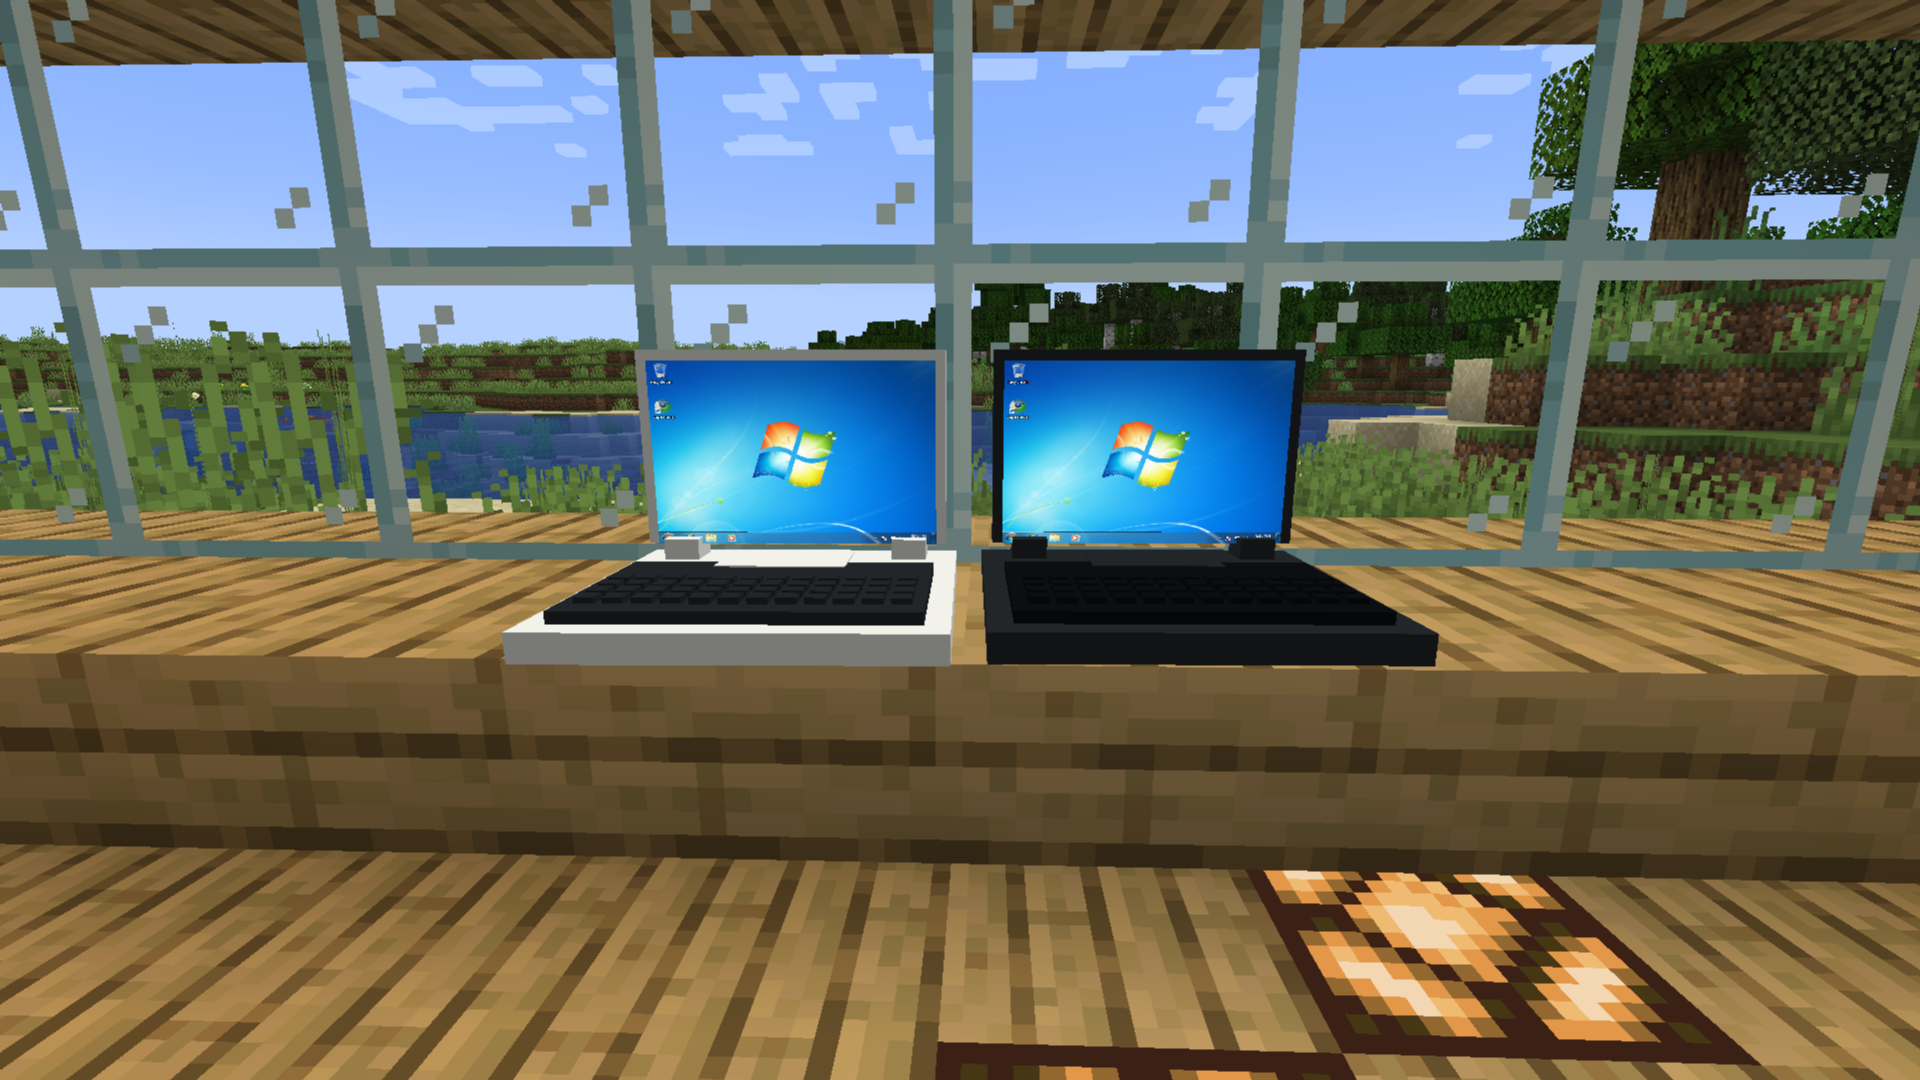
New white computer and screen colors
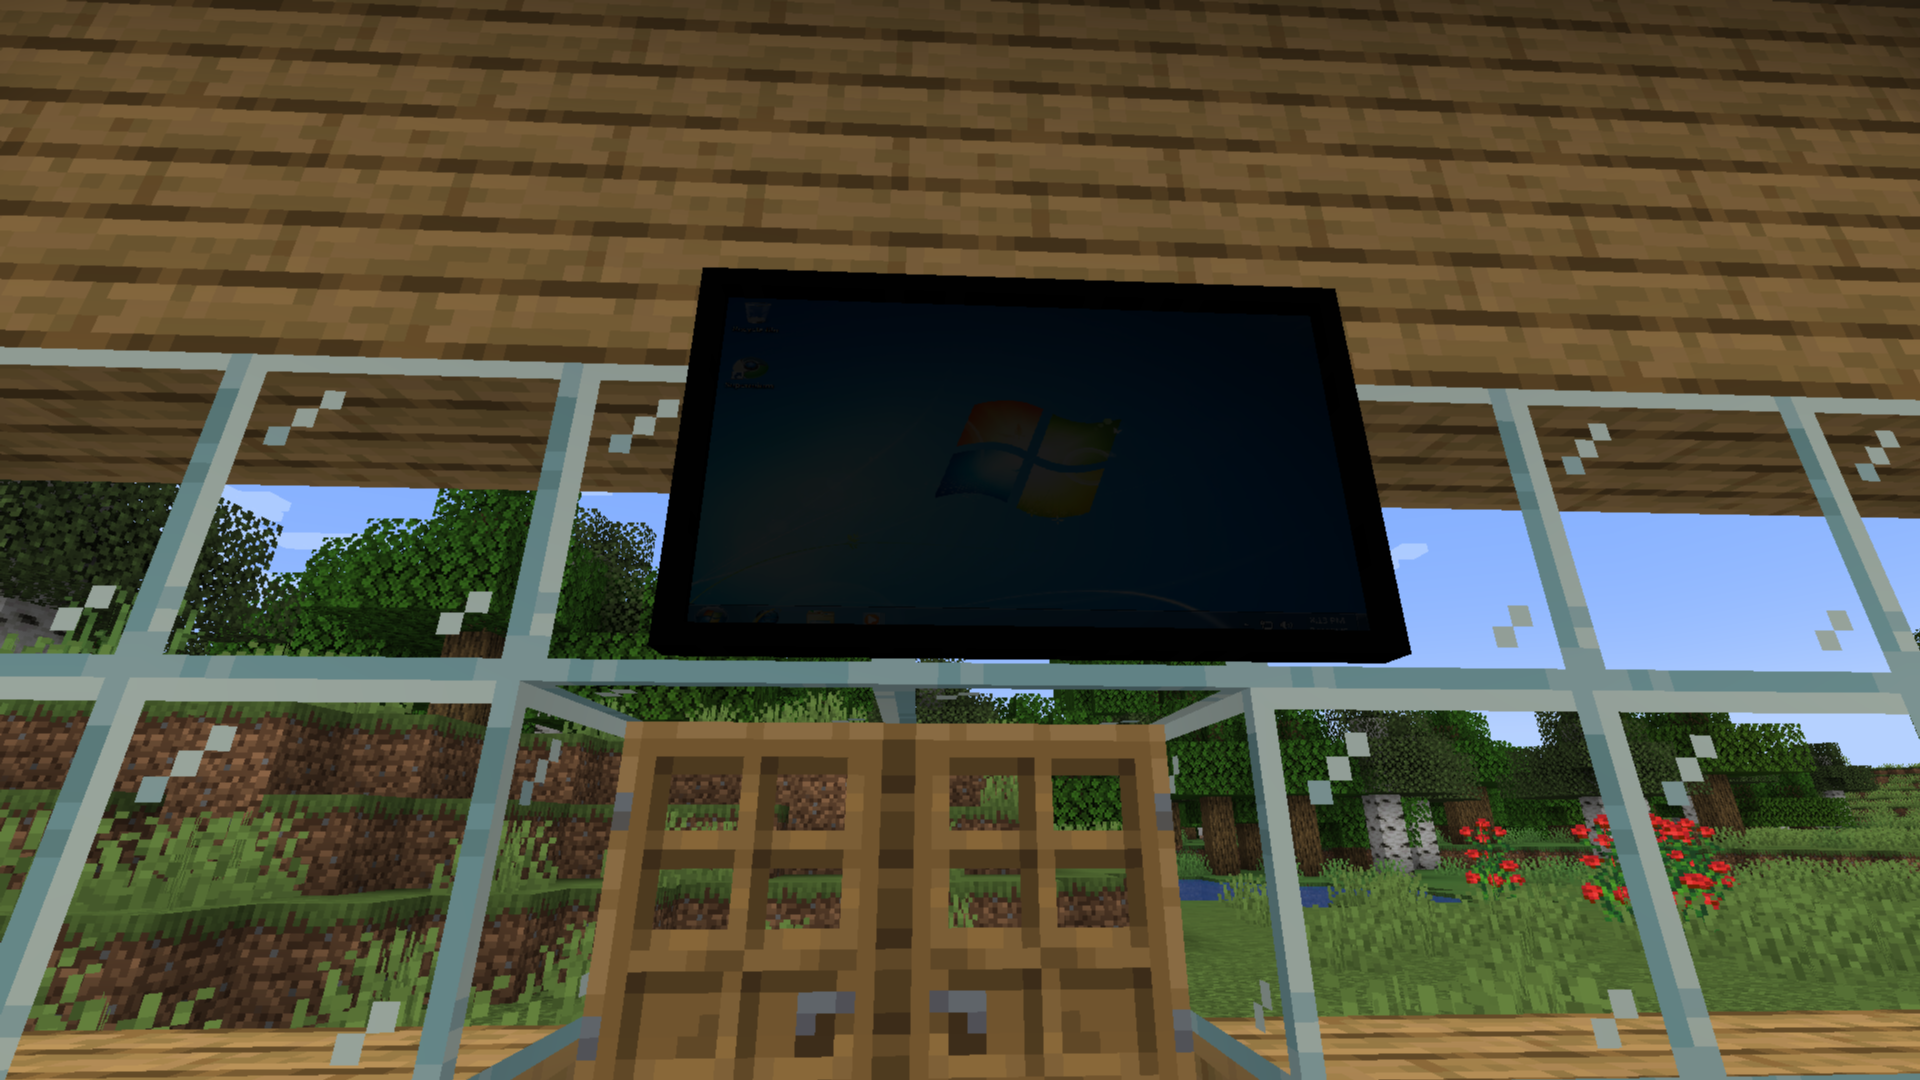
Black Wall TV display issue
The black Wall TV can sometimes lose its display. The white Wall TV does not have this problem.
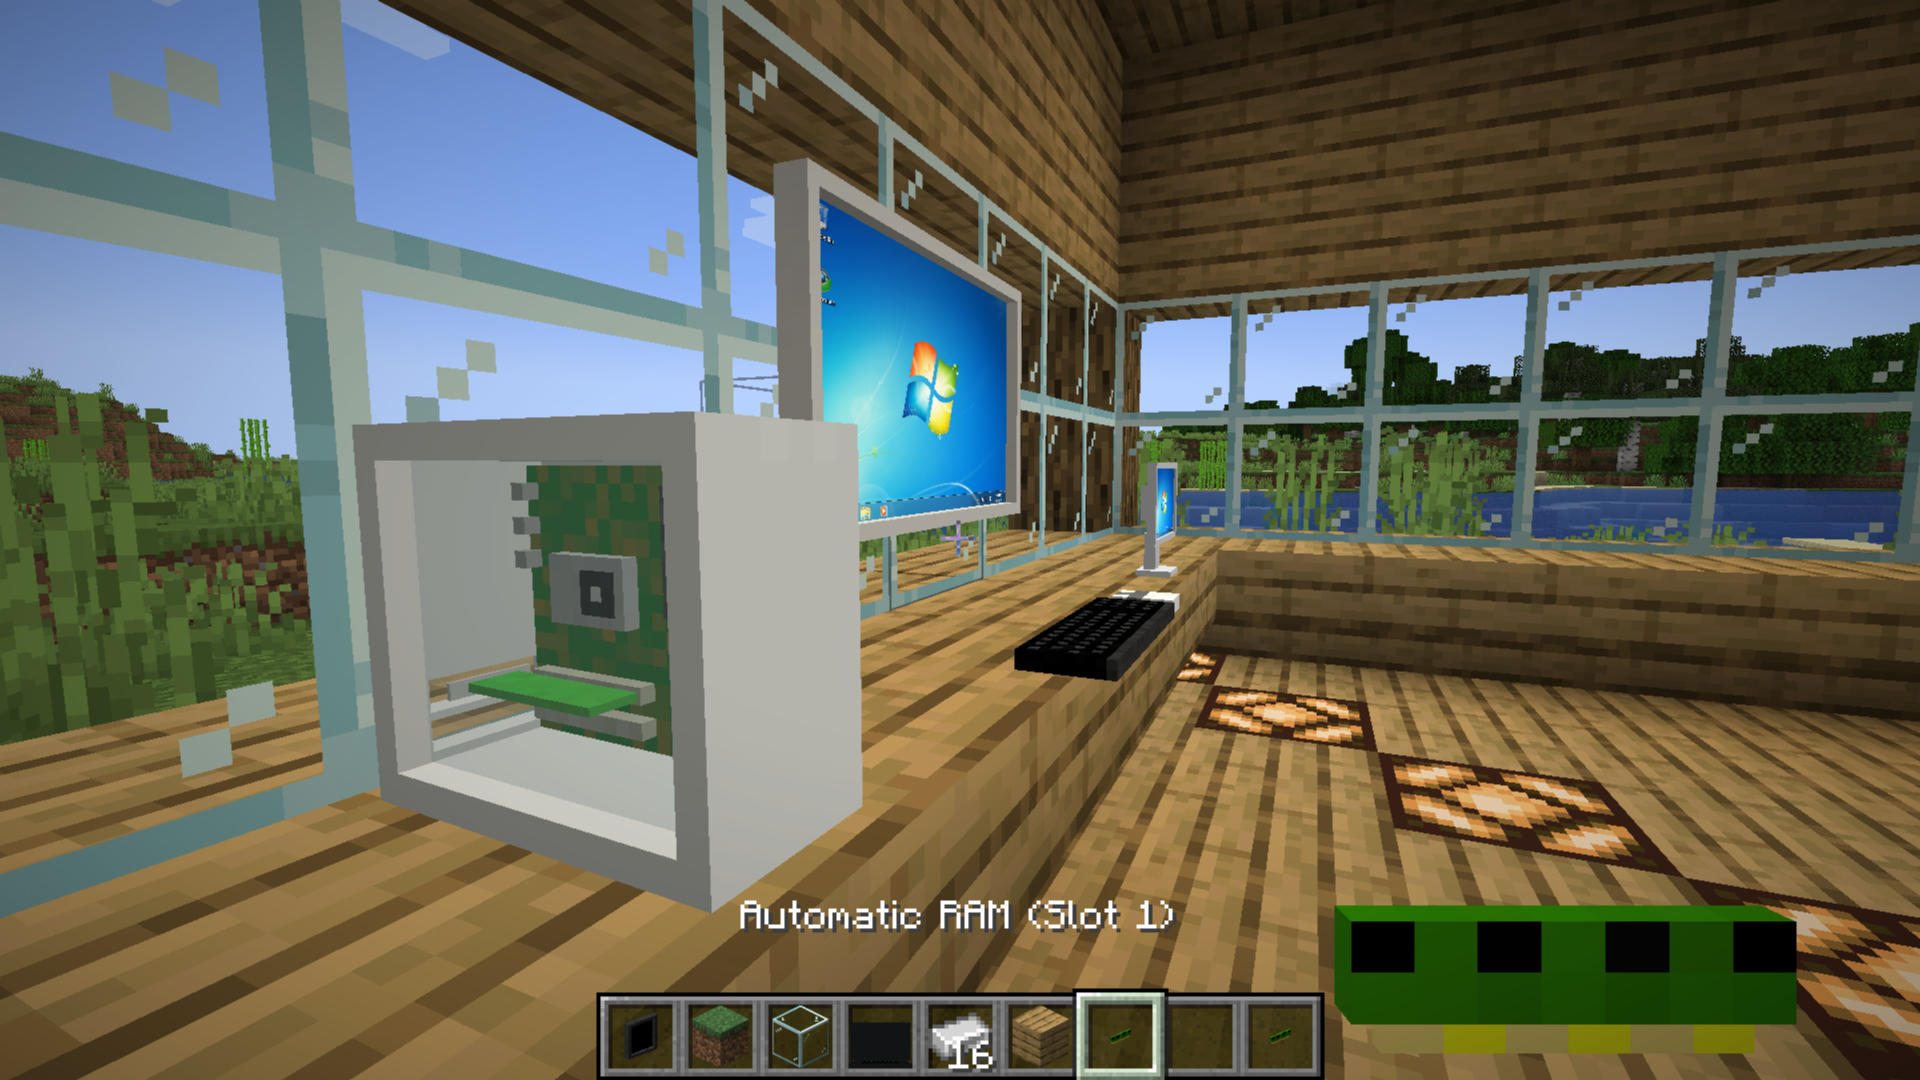
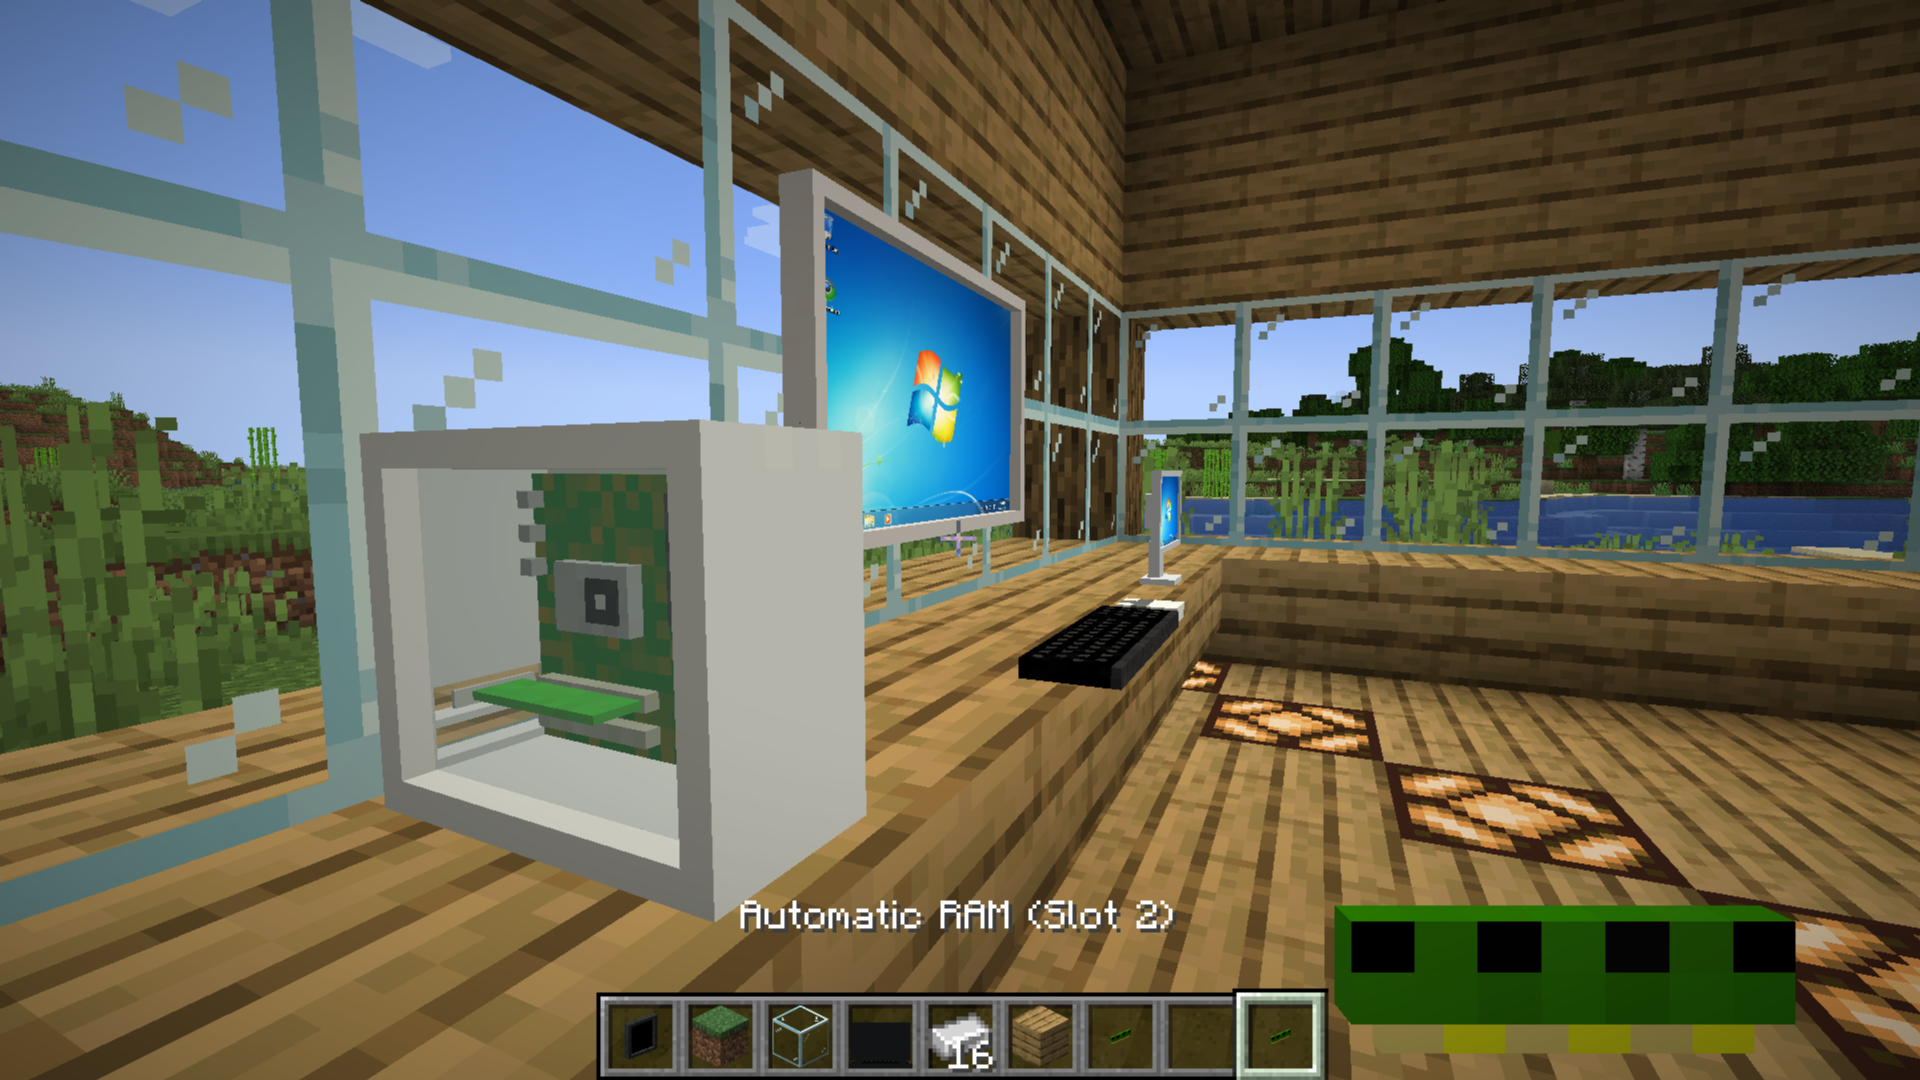
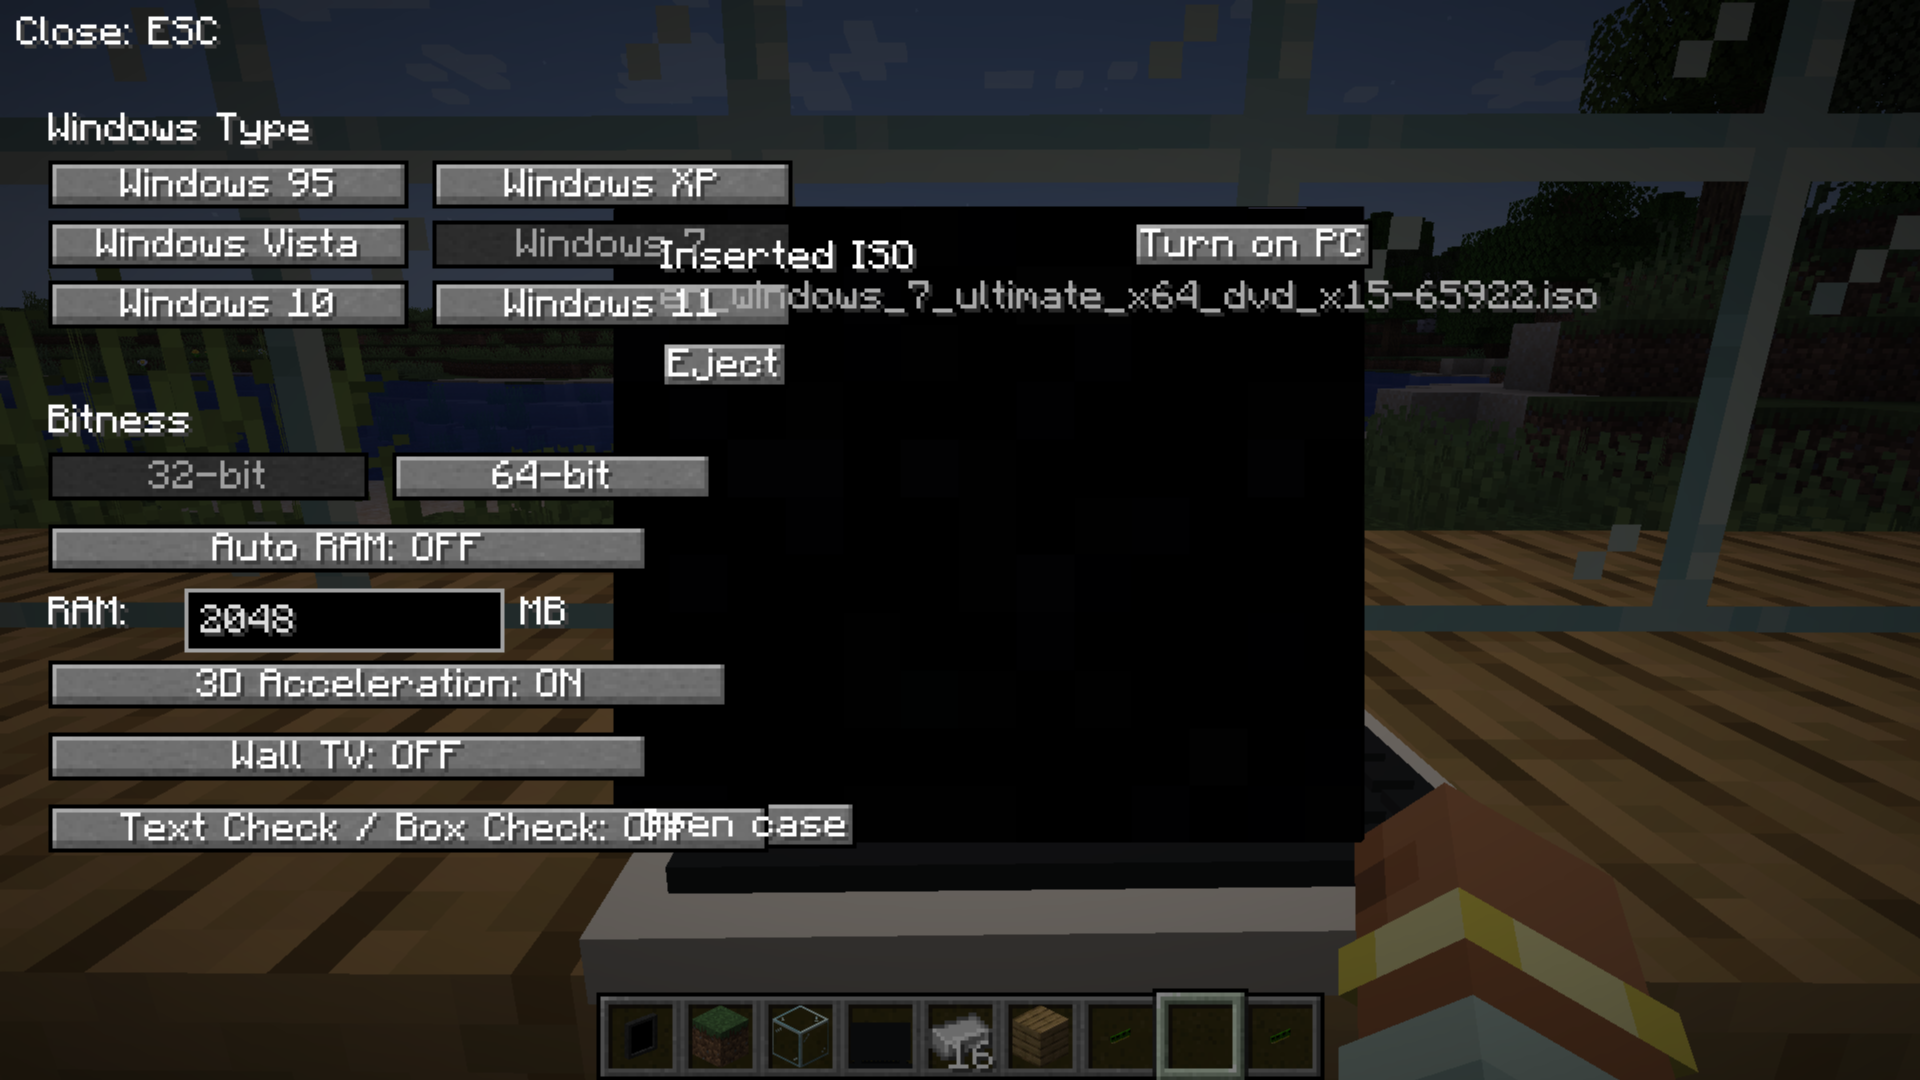
Automatic RAM and hidden menu
Automatic RAM (Slot 1) and Automatic RAM (Slot 2) open the hidden computer menu, which helps fix problems and provides additional operating-system options.
Ordering Tablet shop
Future Plans
We plan to keep updating this mod for newer Minecraft versions.
- More computer, laptop, monitor, and TV designs
- More operating-system options and VM improvements
- Useful commands for managing computers and virtual machines
- Additional components, menus, and troubleshooting tools
More features will be added in future updates. Please subscribe to my YouTube channel, like the project, and enjoy the mod!
Laptop Controls
Laptop screen sharing is currently in beta and may not work correctly in every situation.
- Press
+while targeting your laptop to control the Windows VM. - Press
-while targeting your laptop to share its screen with other screens (beta). - The
+and-keys can be changed from the startup/setup screen.
How to use
Ordering
- Craft an ordering tablet (as seen below)
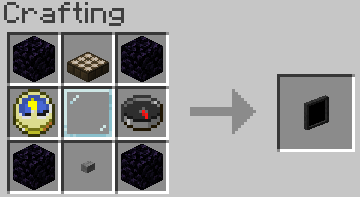
- Wait until it detects a satellite (they appear quite often)
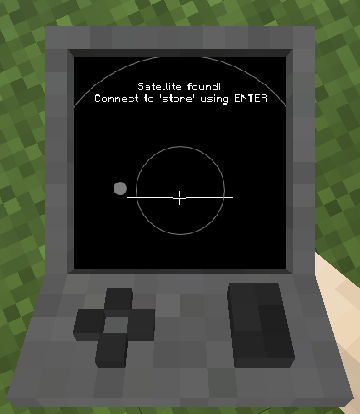
- The rest is (hopefully) self-explanatory
Creating a Hard Drive / Importing an ISO disk image
Virtual Hard Drives are created by pressing the use button (right-click) while holding an hard drive in your hand. It doesn't matter if it has been assigned to a disk image or not as it will always open the menu. You can either use an existing hard drive (located in .minecraft/vm_computers/vhds) or create a new one.
ISO images are CDs / DVDs but as files. They are stored at .minecraft/vm_computers/isos. Once you place them in the folder, you can select them in the PC case menu.
Building the computer
You will need the following items (which can be bought from the Ordering Tablet):
- PC Case,
- Motherboard,
- RAM,
- GPU, and
- Monitor
<sub>Note: The keyboard and mouse are purely decorative (currently…) and you can start the VM without a hard drive or ISO inserted.</sub>
To insert a hard drive, you will need to create one by right-clicking with a hard drive in your hand.
It doesn't matter if it is already assigned to a disk image or not.
- Place down the case
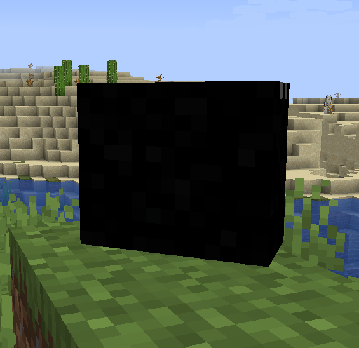
- Press the use button (right-click) on the case
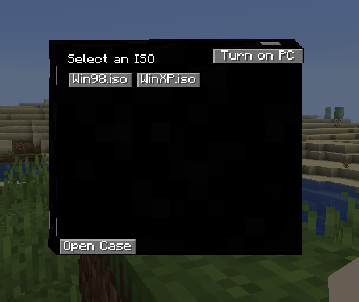
- (Optional) Select an ISO image from the list
- Open the case
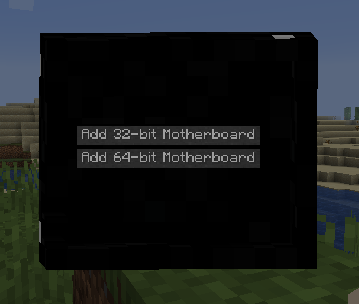
<sub>Note: The buttons will be disabled if you do not have the item in your inventory.</sub> - The rest (hopefully) is self-explanatory
Using the computer
To turn on the computer, press the Power On button in the PC case menu. To interact with the computer, press the use button (right-click) on the monitor.
<sub>Note: Pressing Alt+F4 will close the game, not the window you are on in the virtual machine.</sub>
To stop interacting with the computer, press the keys mentioned in the top-right corner of the screen when interacting with the monitor.
Contributing
If you'd like to contribute to this project, please fork the master branch, make your changes and create a pull request to have the changes reviewed. If you plan to contribute larger changes, please create a issue to discuss the major changes that you were planning to make.
I don't like rules, but to keep consistency and readability of the code please follow these guidelines:
- Use lambda expressions when appropriate
- You'll find that it is faster to write
() -> {}, just saying :)
- You'll find that it is faster to write
- Try to follow the code style of the project
- Makes everyone's life so much easier when it comes to making changes and understanding the code
- Commit messages should describe the change well without being too short
- Where it says 'Update [insert file name here]' should be replaced with a short overview of what was changed. Use the optional extended description to explain the specific changes that were made.
- When making a pull request, make sure that you have made all of the changes you have wanted to before posting the pull request.
- It gets messy when you create a pull request and continue to make changes after the fact.
Project description from CurseForge.
Pick your setup
New-Modded VM Computers by Minecraft version and loader
Choose the version and loader you play, then open the matching release.
Check the dependencies, then try the file in a copied instance before changing a world you care about.
Recent files
New-Modded VM Computers versions and loaders
new-modded-vmcomputers-1.21.1-neoforge.jar
2 Sept 2026
Client Source doesn’t say Server Source doesn’t say Dependencies No extras listed Listed on Release listing
Check the 1.21.1 · NeoForge setup 1.21.1NeoForge release
Looking for an older file? The official CurseForge project page is in Resources.
 mod
CurseForge + Modrinth · Minecraft
Create: Cyber Goggles
A client-side mod for Create that provides modular assistance features.
 mod
CurseForge + Modrinth · Minecraft
Snow! Real Magic! ⛄ (Neo/Forge)
Not a magic mod. | Snow Gravity & Accumulation | Snow-covered blocks | Tweak snow behaviors
 mod
CurseForge · Minecraft
Manufacture gunpowder
Provides a reliable source of gunpowder for bullet manufacturing in zombie-themed modpacks by implementing smelting recipes that convert coal into gunpowder, especially when creeper drops are limited.